


 124Likes
Losi 1/6 Super Baja Rey Thread
 03-01-2018, 09:38 AM
#136
that's so cool! let us know how the printing goes for 4s. would be interested in buying 1 from you if your interested in selling. let me know.
by the way does anyone have theirs in the flesh yet? I can't wait for Saturday to get mine! been a tough couple months of waiting.
by the way does anyone have theirs in the flesh yet? I can't wait for Saturday to get mine! been a tough couple months of waiting.
 03-01-2018, 10:20 AM
#137
Tech Initiate
 03-01-2018, 03:13 PM
#139
Tech Initiate
https://youtu.be/rkoqd9DKTFU
cool video here. they mention 70+mph on 8s!
cool video here. they mention 70+mph on 8s!
03-01-2018, 07:03 PM
#141
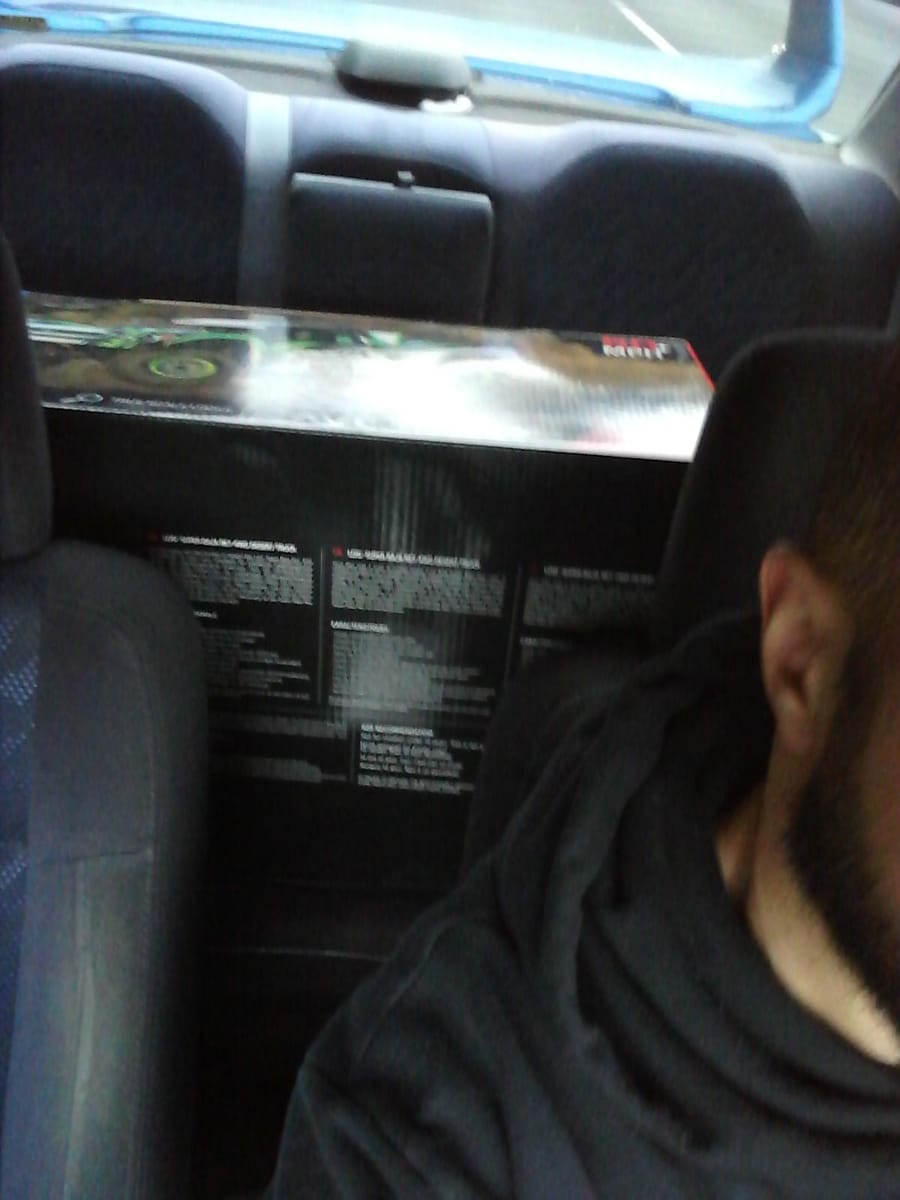
Alright so I got mine today. First some unboxing pics..


I have no idea what any of these parts in the pic are for besides the batteries.


When taking off the panels be careful of these. Take them off and keep them safe as they are not permanently fixed.


Fuel cell under the spare

The power switch is mounted using servo tape but mine had come loose and was dangling. There is a mounting hole on the case of the switch but for some reason they were to lazy to mount it. I suggest that you address this immediately before running.

Size comparison of the DBLE vs Rey. The DBLE is definitely larger with a longer wheelbase, larger wheels and tires, and wider stance


The body comes off in three separate pieces, is a chore as expected ,and consists of 18 screws total. It has to be taken off and installed in a specific order. Center first, then rear or front second. In reverse the center goes on last.


I nice little touch in terms of scale. Non functional of course

The aftermath of body removal

I have no idea what any of these parts in the pic are for besides the batteries.
When taking off the panels be careful of these. Take them off and keep them safe as they are not permanently fixed.
Fuel cell under the spare
The power switch is mounted using servo tape but mine had come loose and was dangling. There is a mounting hole on the case of the switch but for some reason they were to lazy to mount it. I suggest that you address this immediately before running.
Size comparison of the DBLE vs Rey. The DBLE is definitely larger with a longer wheelbase, larger wheels and tires, and wider stance
The body comes off in three separate pieces, is a chore as expected ,and consists of 18 screws total. It has to be taken off and installed in a specific order. Center first, then rear or front second. In reverse the center goes on last.
I nice little touch in terms of scale. Non functional of course
The aftermath of body removal
03-01-2018, 07:13 PM
#142
I only really have a few gripes so far. The manual is bare bones just as it was with the 6 and DBLE. It is missing very vital information that should have also been included with their previous large scale vehicles. No instructions whatsoever on disassembly of any kind, including removal of the body.
I have stared at this thing for over an hour trying to figure out how to even get to the electronics. No exploded diagrams either. No mention of what the extra parts are supposed to be for.
Body removal takes roughly 4-5 minutes depending on the speed of your drill if you choose to use one, which I highly suggest.
I feel like even if I do figure out how to take the thing apart it will take a good amount of time to get it back together. The truck should have been designed to have an easily removable cage consisting of a few screws. Similar to the old Associated SC8E.
03-01-2018, 07:23 PM
#143
Tech Prophet

iTrader: (9)
Join Date: Nov 2014
Location: Far south suburbs of Chicago area
Posts: 17,780
Trader Rating: 9 (100%+)
Nice pictures. They did just enlarge the 1/10. I think the piece next to the AA batteries is if you remove the spare tire. 1/10 has similar
03-01-2018, 08:18 PM
#145
Mine came in today. One of the first things I did was to see if my new SMC packs would fit. I ordered 2 x 7400mAh 3S packs on the hope they would fit (they do), otherwise I was going to use them for something else. When I opened the battery door, I noticed a big chunk of foam they stuck on the door. That's great and all, except they didn't check clearance and it's so thick, you can't slide a battery past it. I had to peel it off to get the packs in the truck.
03-01-2018, 08:22 PM
#146
Tech Prophet
iTrader: (9)
Join Date: Nov 2014
Location: Far south suburbs of Chicago area
Posts: 17,780
Trader Rating: 9 (100%+)
03-01-2018, 08:45 PM
#147
Nope, nothing. There's an online manual with exploded view? Got a link to that? I sat down with it again for another hour and figured out how to get to the electronics from the top of the cage. Not sure if that's how you are supposed to do it, but I honestly see not other way possible. I'll post step by step pics shortly.
03-01-2018, 08:54 PM
#148
Tech Prophet
iTrader: (9)
Join Date: Nov 2014
Location: Far south suburbs of Chicago area
Posts: 17,780
Trader Rating: 9 (100%+)
Nope, nothing. There's an online manual with exploded view? Got a link to that? I sat down with it again for another hour and figured out how to get to the electronics from the top of the cage. Not sure if that's how you are supposed to do it, but I honestly see not other way possible. I'll post step by step pics shortly.
03-01-2018, 08:55 PM
#149
Mine came in today. One of the first things I did was to see if my new SMC packs would fit. I ordered 2 x 7400mAh 3S packs on the hope they would fit (they do), otherwise I was going to use them for something else. When I opened the battery door, I noticed a big chunk of foam they stuck on the door. That's great and all, except they didn't check clearance and it's so thick, you can't slide a battery past it. I had to peel it off to get the packs in the truck.
03-01-2018, 09:11 PM
#150
So I wanted to show how I accessed the electronics.
First I removed these two screws from the front left and right

Then this screw, one on each side in the same spot

These four screws that I have pointed out at the very top, at the front and rear sides

Once those are all out you can pull the front of the cage forward and then lift it out, swing it up and back out of your way.

Then you have access to the cockpit tray

Four screws are holding the tray in, remove those

After the 4 screws are out gently stretch the cage where you see me doing it in the pic one side at a time while sliding the tray out

Slide tray all the way out it will take some wiggling
Tray removed

Once you are finished whatever button everything back up in reverse order. Be sure to have the correct length screws in the correct holes. Easiest way to be sure is to put the screw back in the hole that it came from once you've cleared each part of the cage out of the way.
First I removed these two screws from the front left and right
Then this screw, one on each side in the same spot
These four screws that I have pointed out at the very top, at the front and rear sides
Once those are all out you can pull the front of the cage forward and then lift it out, swing it up and back out of your way.
Then you have access to the cockpit tray
Four screws are holding the tray in, remove those
After the 4 screws are out gently stretch the cage where you see me doing it in the pic one side at a time while sliding the tray out
Slide tray all the way out it will take some wiggling
Tray removed
Once you are finished whatever button everything back up in reverse order. Be sure to have the correct length screws in the correct holes. Easiest way to be sure is to put the screw back in the hole that it came from once you've cleared each part of the cage out of the way.